Sketched Portrait
In this tutorial, we show you how to create a sketched portrait using layers in Draw.
Step 1
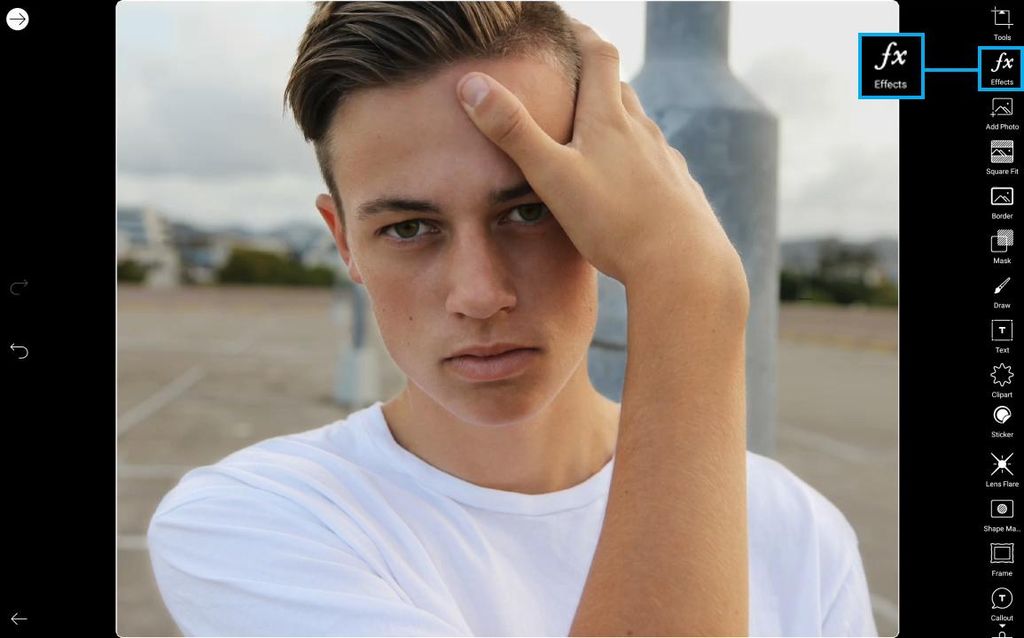
Open a portrait in the photo editor. Use one of your own pictures or find one by another user by searching for #FreeToEdit and #Portrait in the app. Tap on the Effects icon.
Step 2
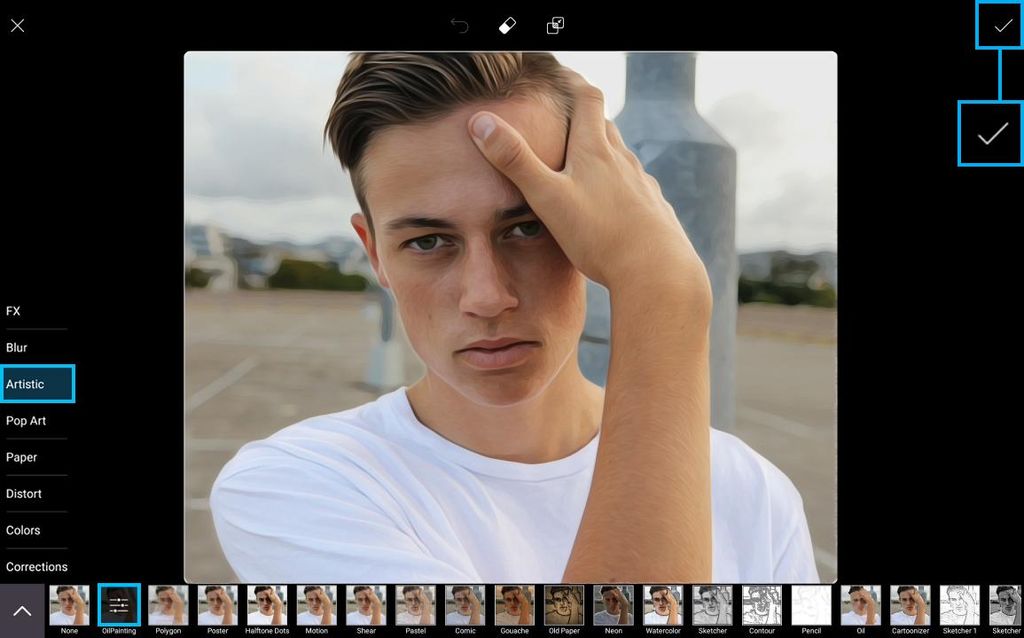
Open the Artistic Section and tap on the Oil Painting Effect. Tap on the check mark to confirm.
Step 3
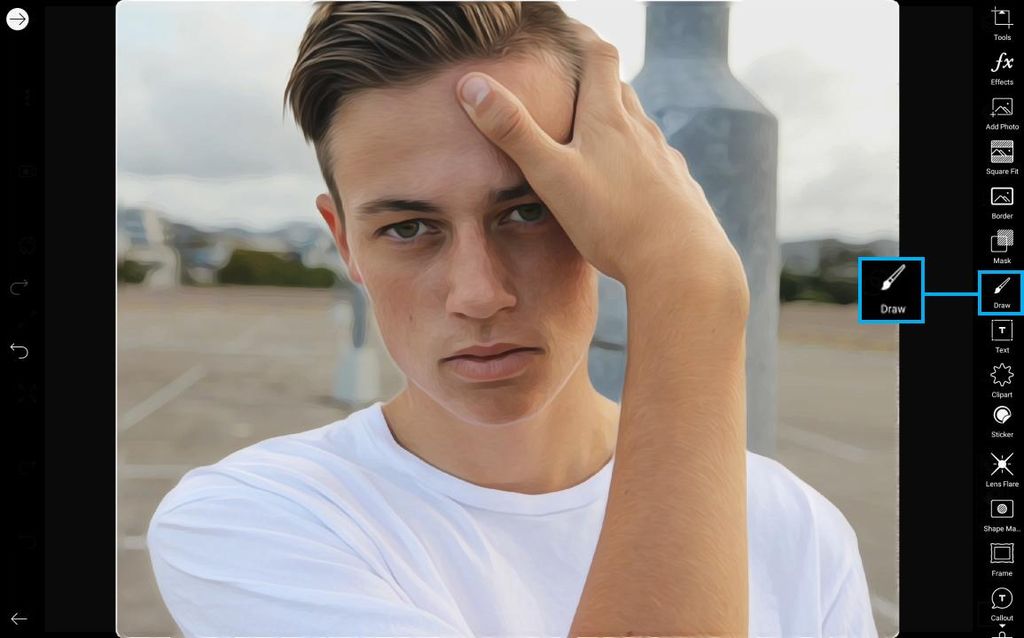
Tap on the Draw icon.
Step 4
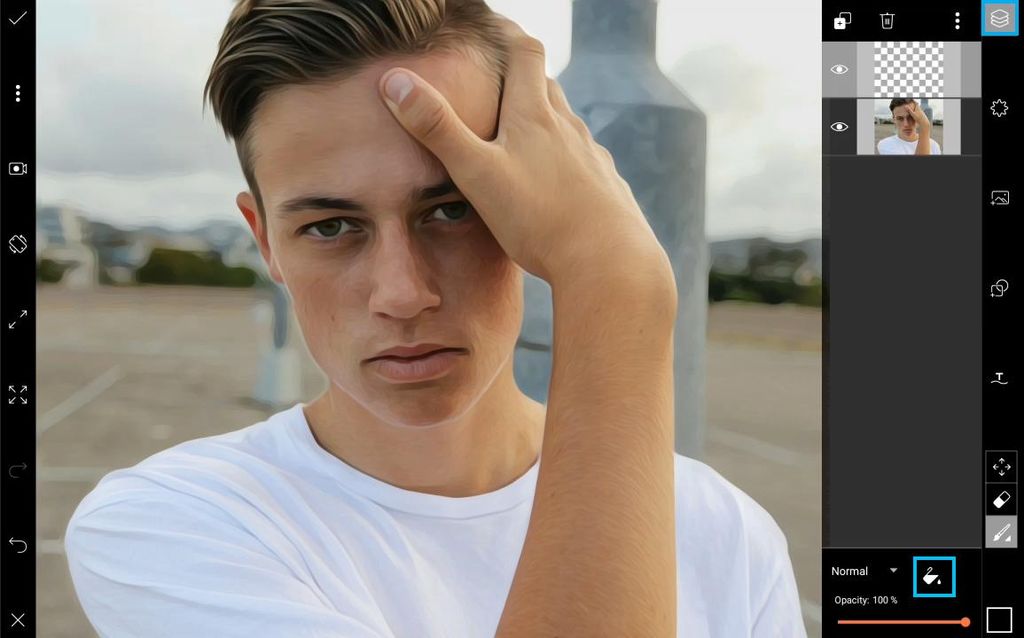
Tap on the layers icon in the top right corner to open the layers drawer. Tap on the paint bucket icon.
Step 5
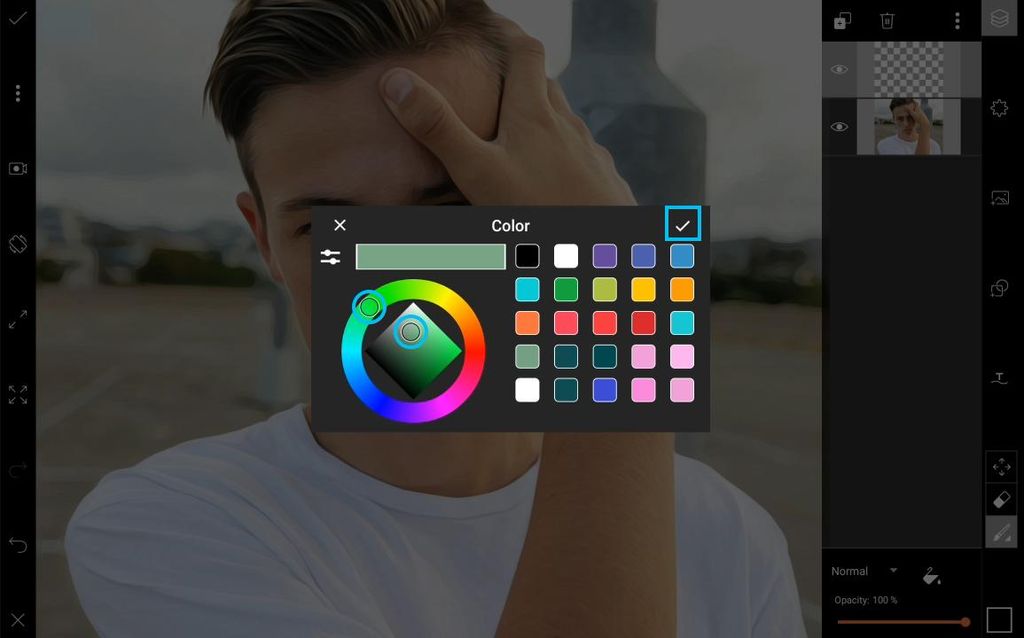
Select a light green color (or any other color you’d like to use) and tap on the check mark to confirm.
Step 6
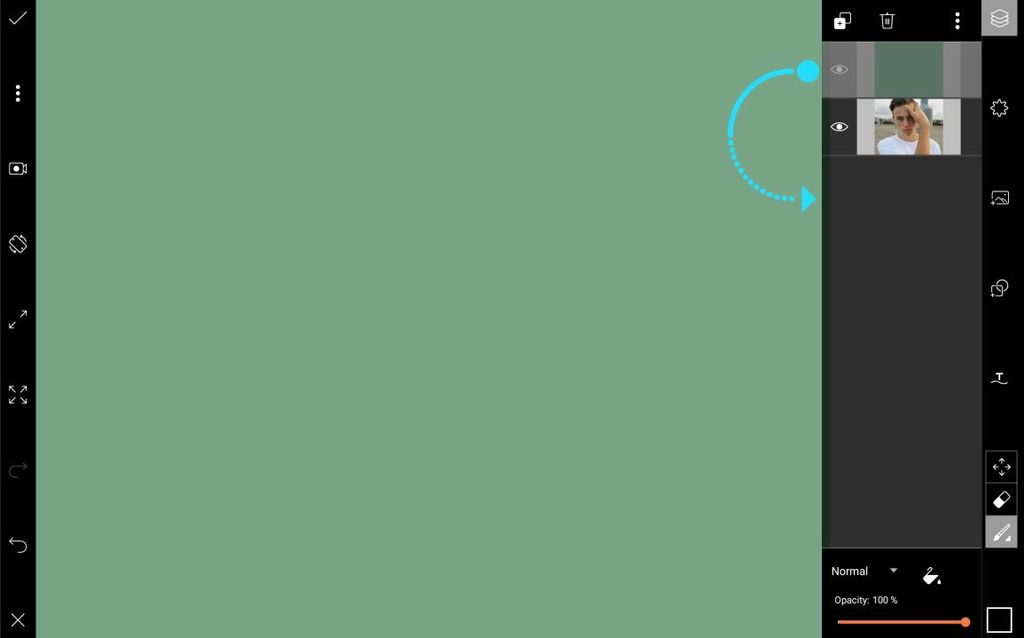
Drag your top layer below your photo layer.
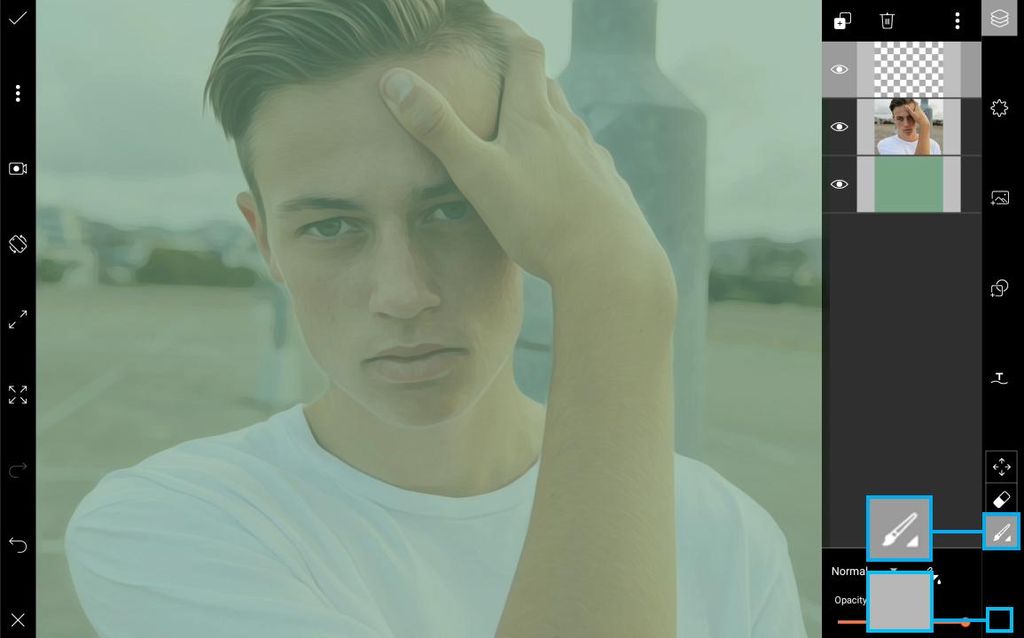
Step 7
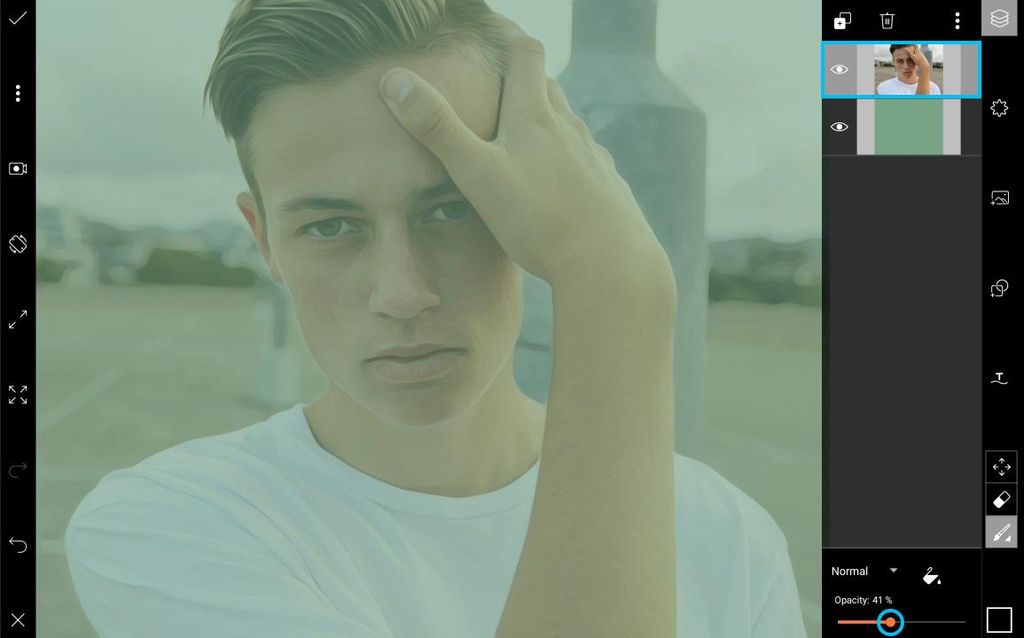
Tap on the photo layer to select it. Use the slider to reduce the layer opacity to about 40%.
Step 8
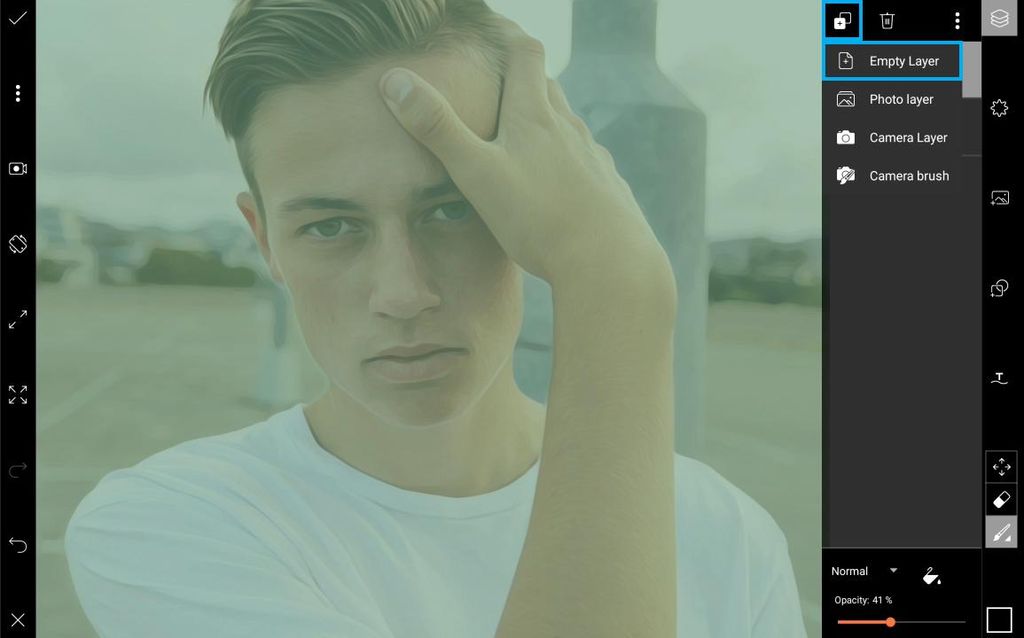
Tap on the plus sign and select “Empty Layer.”
Step 9
Tap on the black square in the bottom right corner to open the color chooser and switch to a light grey color. Tap on the paintbrush icon.
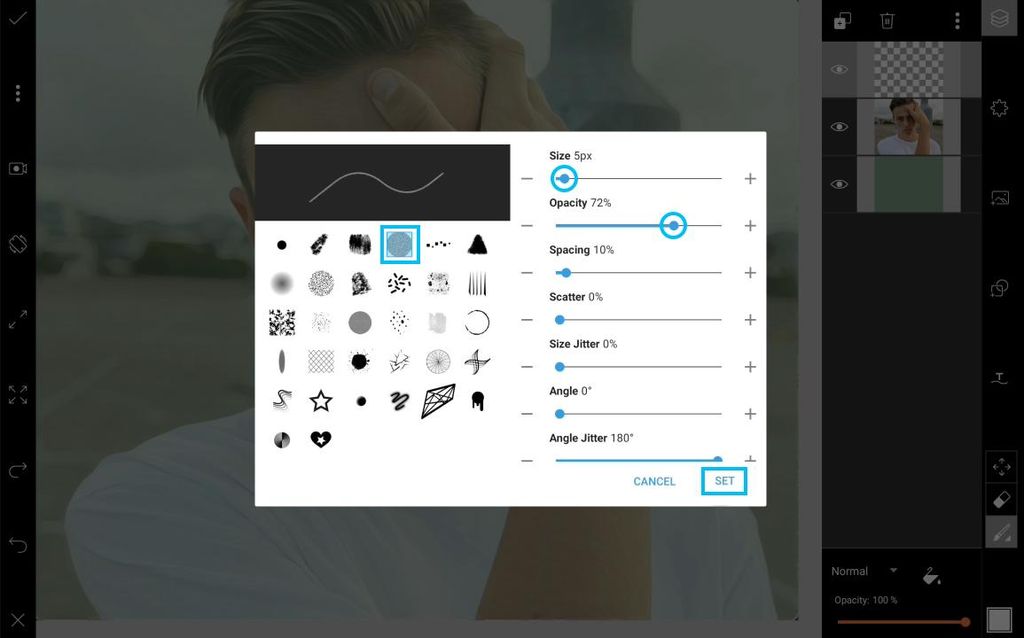
Step 10
Select the fourth brush option and use the sliders to reduce the size and bring the opacity down to about 70%. Tap on “Set” to confirm.
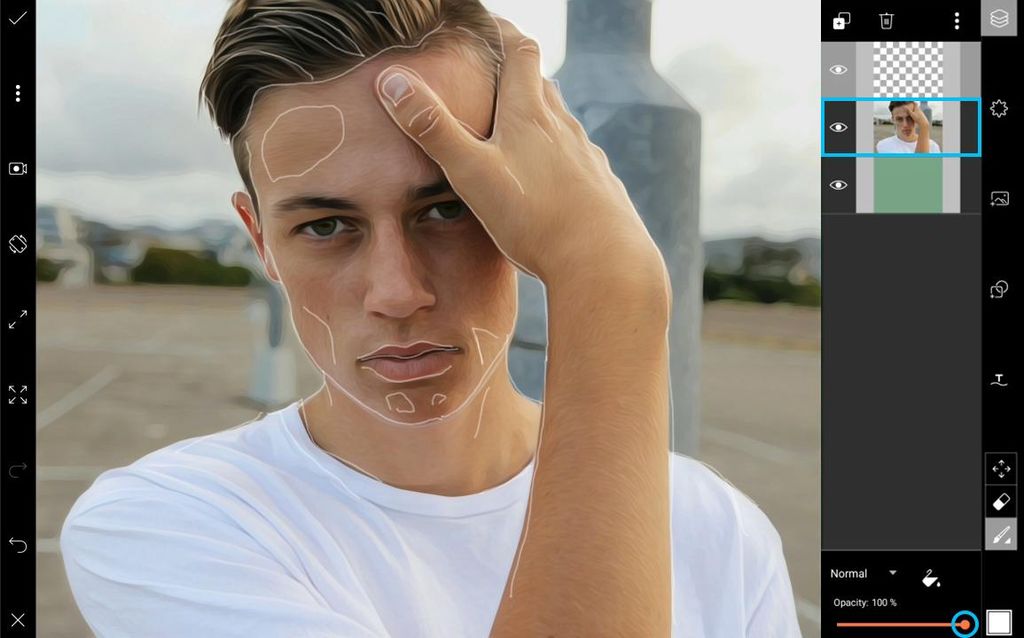
Step 11
With the empty layer selected, start tracing over your photo. Be sure not to trace over the eyes, as that portion of the photo will remain. Select the photo layer and bring the opacity back up to 100%.
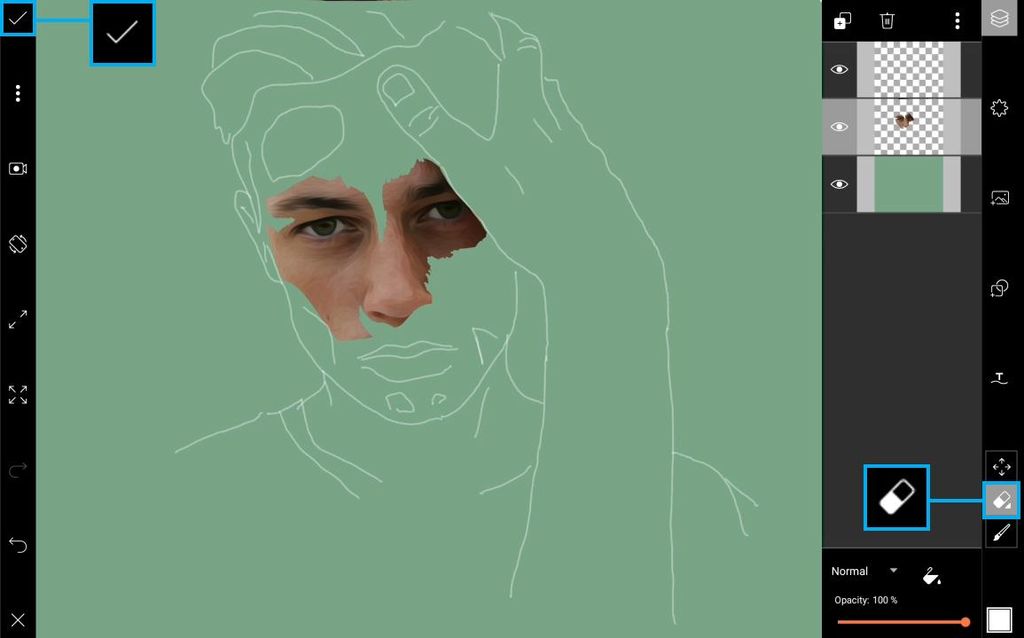
Step 12
Tap on the eraser icon and erase all parts of your photo except the eyes. When you’re done, tap on the check mark to confirm. Save your picture and share it on PicsArt with the hashtag #SketchedPortrait!
No comments:
Post a Comment